Tired of editing HTML code every time you need to update a tracking pixel?
Join the club. Manual tag implementation is the bane of every affiliate marketer's existence.
Voluum and Google Tag Manager can end this nightmare. No more digging through website code to add conversion tracking. No more begging developers to update pixel values.
GTM turns your tracking setup into a point-and-click operation. Add Voluum pixels, change payout values, and manage campaign tracking from one dashboard. Your affiliate marketing just got ten times easier.
We’ll show you exactly how to connect these tools and kiss manual coding goodbye forever.
Why Bother Integrating Voluum and Google Tag Manager?
While Voluum doesn't have a direct, one-click integration with GTM, the setup is straightforward and unlocks some serious benefits.
Use Cases for Voluum and GTM
Let's look at some real-world scenarios where Voluum and Google Tag Manager integration shines.
1. Managing Conversion Pixels on a “Thank You” Page
You have to go back into the page's code, find the pixel, and manually update the payout= parameter. With GTM, you just log into your GTM account, open the tag, change the value in the URL, and publish. Job done in under a minute.
2. Using Direct Tracking on Pages with Existing GTM
Many affiliates use landing pages built on platforms that already have GTM installed. Instead of trying to add yet another script to the page's header, you can simply deploy Voluum's direct tracking script as a new tag within your existing GTM container.
This keeps your page's code clean and avoids potential conflicts.
3. Firing Multiple Pixels for Multi-Platform Campaigns
This is a massive one. Let's say you're driving traffic from Facebook. When a conversion happens, you need to inform both Facebook (for campaign optimisation) and Voluum (for affiliate tracking). GTM lets you set up two separate tags—one for the Facebook Pixel and one for the Voluum conversion pixel—and have them both fire on the same trigger, like a “Thank You” page view.
It’s clean, efficient, and ensures accurate data across all systems.
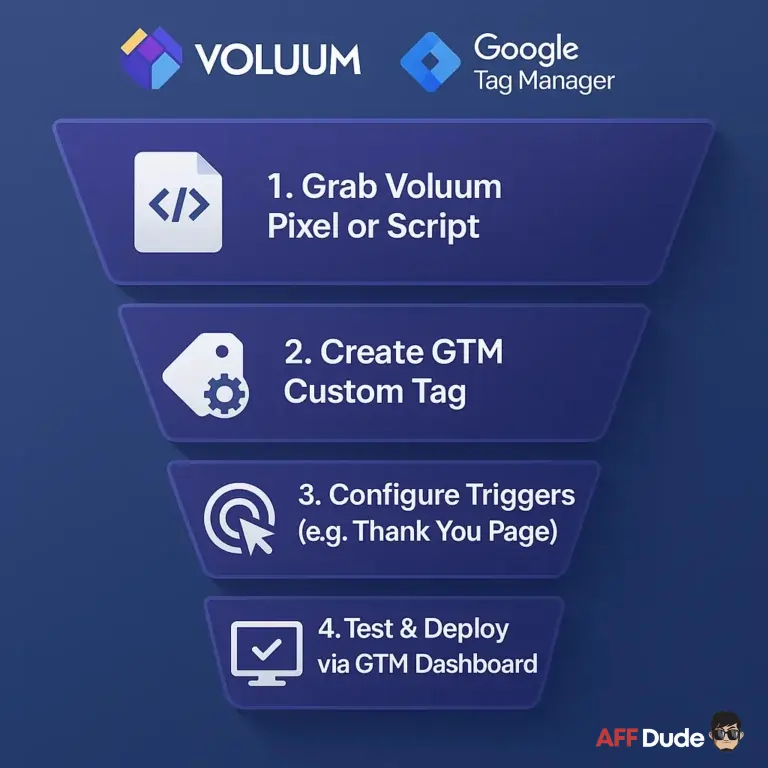
Step-by-Step Guide: Implementing Voluum Pixels via GTM
Alright, let's get our hands dirty. This guide assumes you already have a Google Tag Manager account and have placed the GTM container snippet on your website or landing pages.
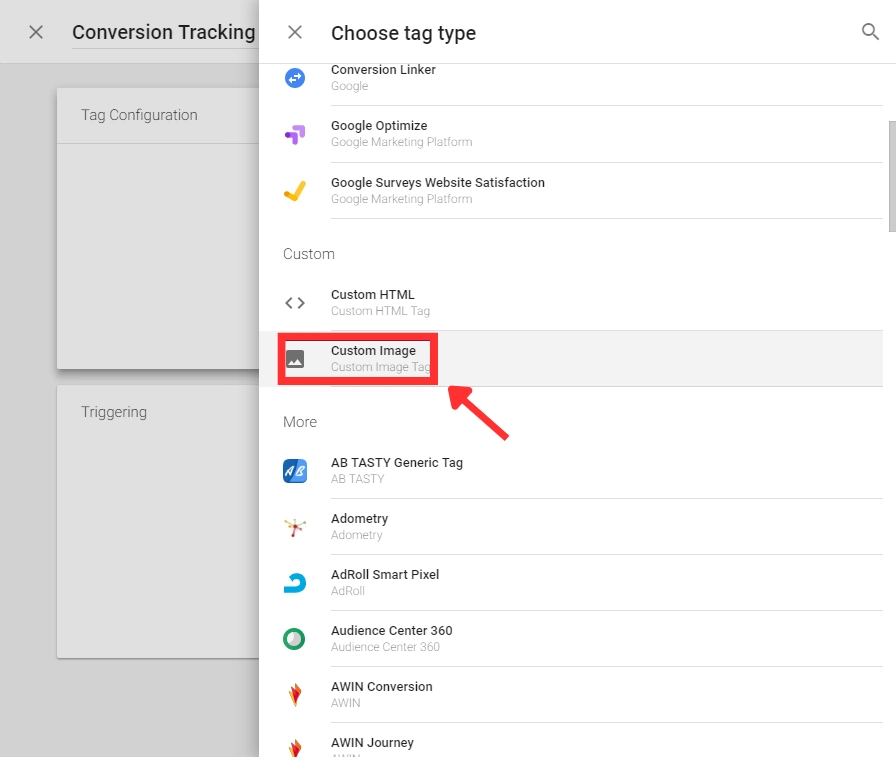
Tracking Conversions with a Custom Image Tag
This method is for implementing your Voluum conversion pixel, which typically goes on a “Thank You” or success page that appears after a user converts.
Grab Your Voluum Conversion Tracking Pixel URL
First, you need the pixel URL from Voluum.
https://your_voluum_domain.com/conversion.gif?cid=OPTIONAL&payout=OPTIONAL&txid=OPTIONALA quick note on the parameters:
Streamline Tracking with Voluum – 57% Off
exclusive
Set up Voluum conversion pixels via GTM in minutes.
Use code BLOGGINGECLIPSE at checkout to save 57% instantly!
Save 57%
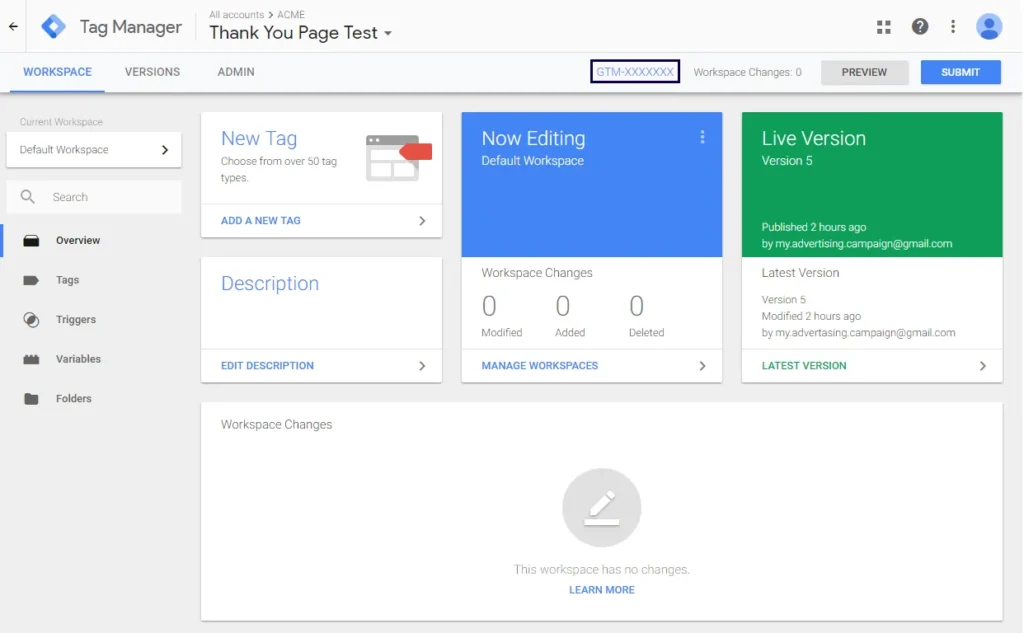
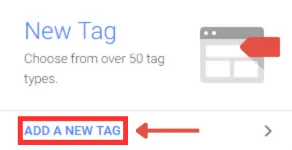
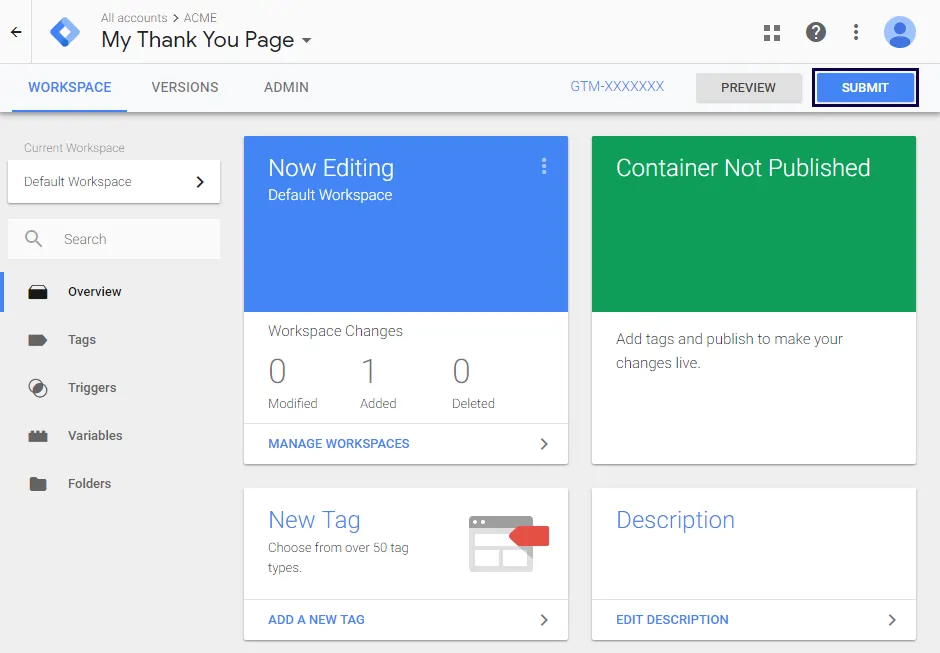
Create a New Tag in Google Tag Manager.
Now, head over to your GTM dashboard.
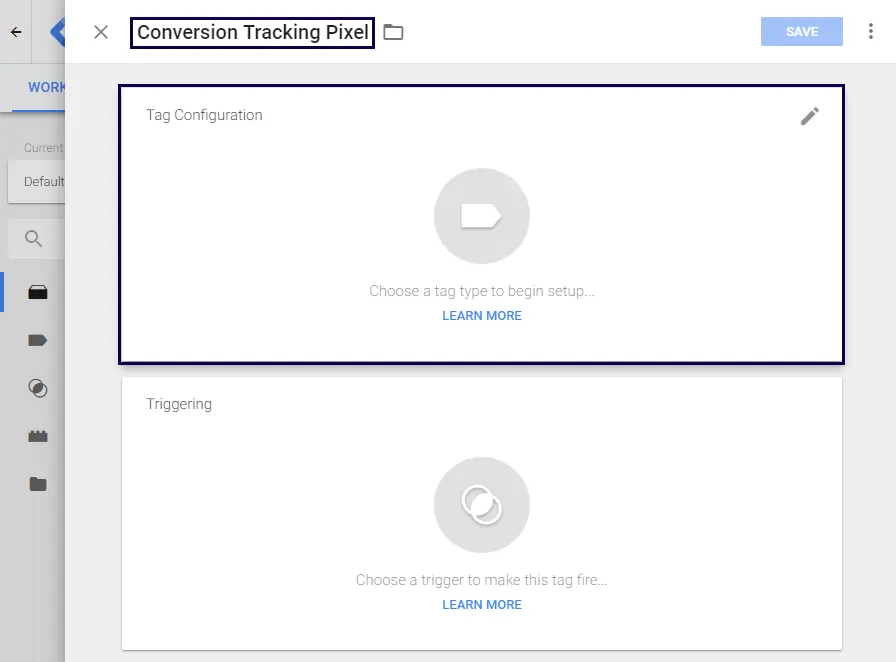
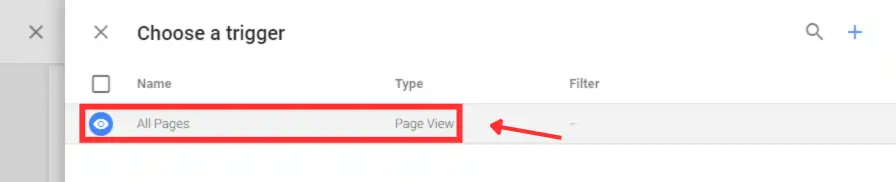
Configure and Trigger the Tag
This is where you connect the dots.
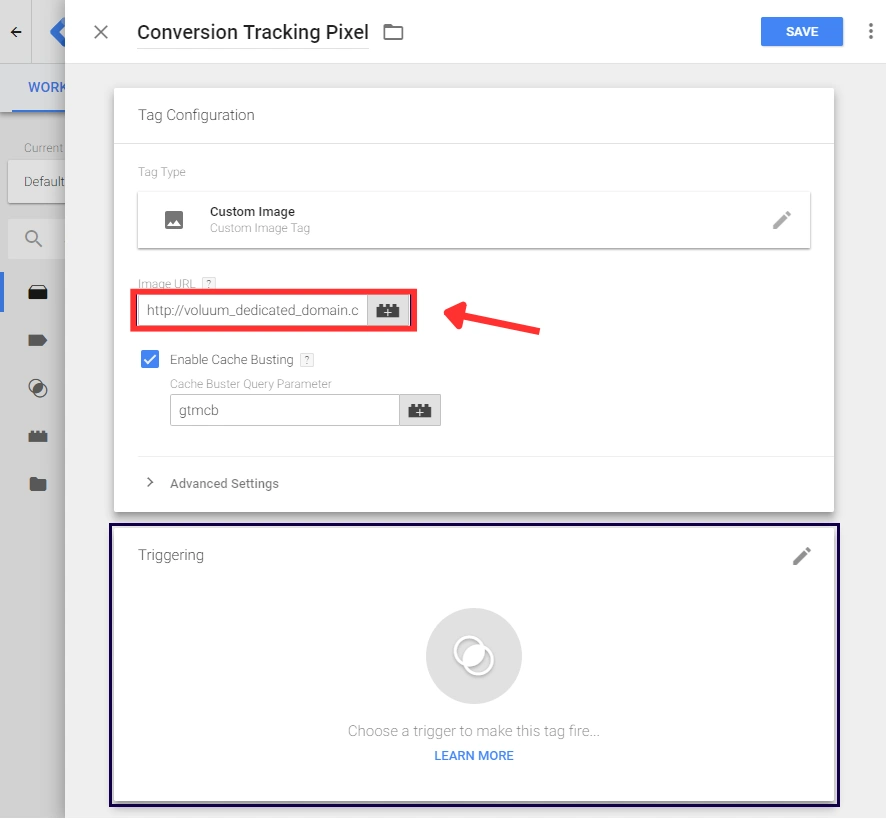
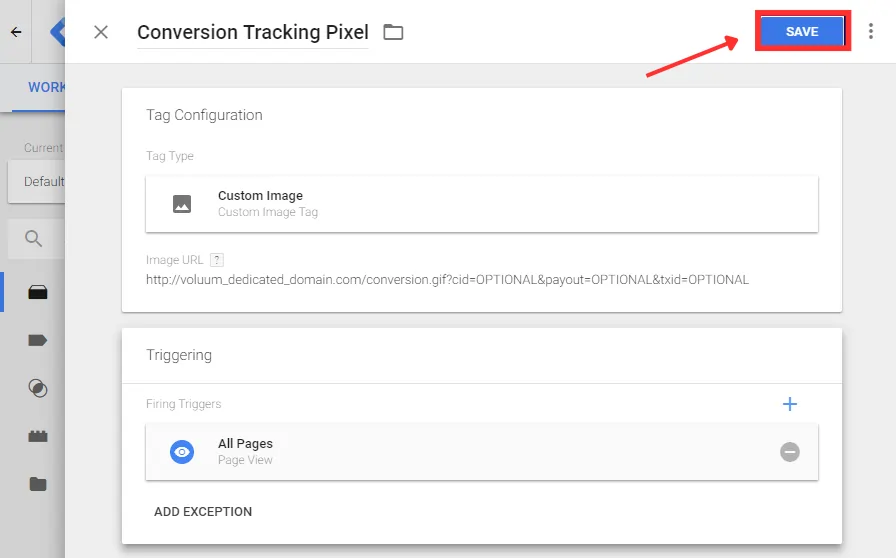
That's it! Your Voluum conversion pixel is now managed entirely through GTM.
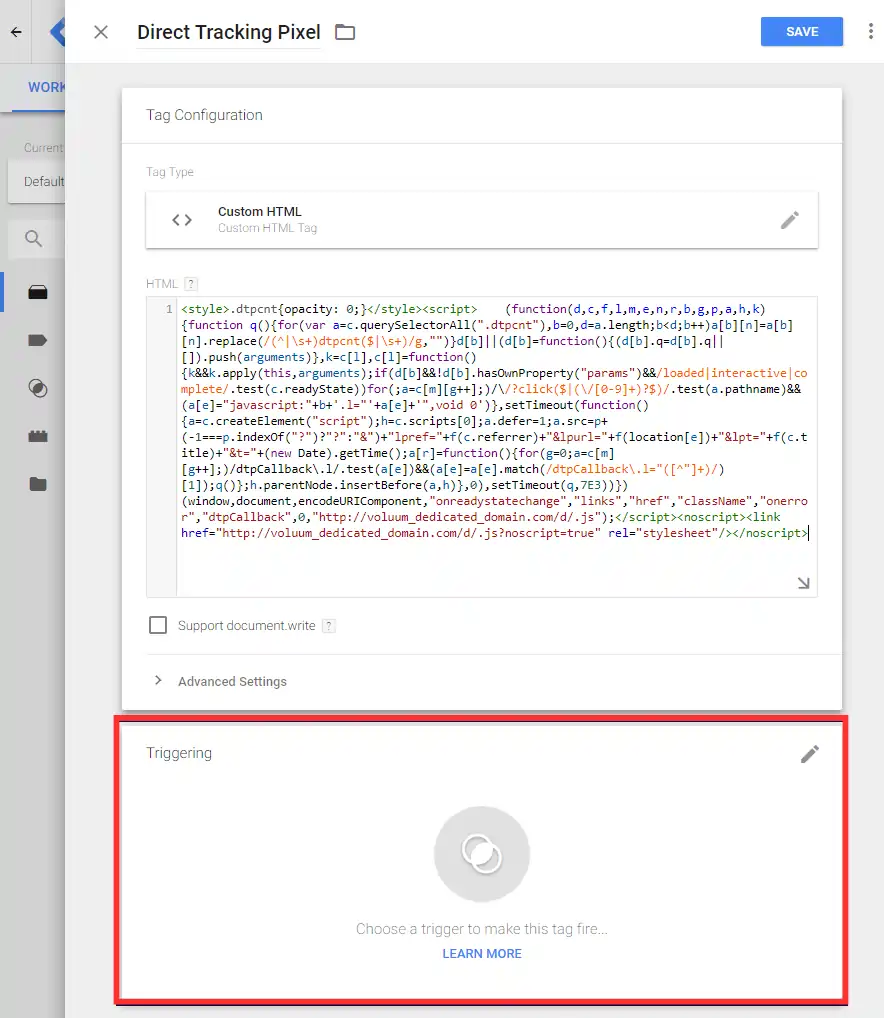
Implementing Direct Tracking Scripts with a Custom HTML Tag
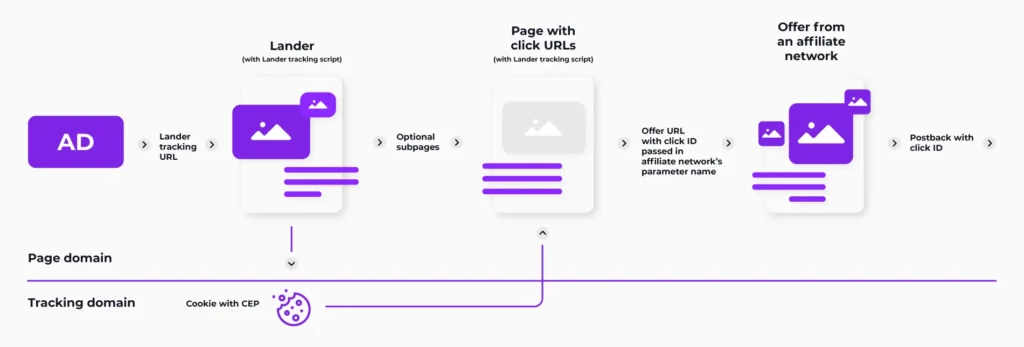
This method is for adding Voluum's direct tracking scripts to your landing pages or offers. These scripts are necessary for tracking visits when you're not using a traditional redirect-based campaign.
Grab Your Voluum Direct Tracking Script
This script is different from the conversion pixel. It's a piece of JavaScript that tracks the initial visit to a landing page or offer. You'll typically find this script within your campaign setup in Voluum when you select a direct tracking method. There are two main types:
Copy the entire script provided by Voluum.
Create a New Tag in Google Tag Manager
Back in the GTM dashboard:
Source: Voluum
Configure and Trigger the Tag
You have now successfully implemented Voluum's direct tracking using GTM, keeping your landing page's code untouched.
Final Thoughts: The Smart Way to Manage Tracking
Learning to pair Voluum with Google Tag Manager is a crucial skill for any serious affiliate or media buyer. It takes the technical headache out of campaign setup, letting you focus on what really matters: optimising your campaigns for better performance.
By moving your tracking implementation into GTM, you gain a level of flexibility and control that is impossible with manual code edits. You can deploy pixels, test scripts, and manage multi-platform tracking with ease.
It's a cleaner, faster, and more professional way to handle the technical side of affiliate marketing, and once you start using it, you'll wonder how you ever managed without it.
Affiliate Disclosure: This post may contain some affiliate links, which means we may receive a commission if you purchase something that we recommend at no additional cost for you (none whatsoever!)